- Home
- Using Charcoal the Right Way and Guide to Perfect Crisping
Using Charcoal the Right Way and Guide to Perfect Crisping
(C)
Charcoal: Amounts per hour/ number of bags to buy - Start with as much coal as the instructions say. We’ve used 10lbs instead of 15, and the box just won’t come to cooking temp. It’s really a very scientific design, and the instructions have to be followed closely.
BTW – A standard Weber charcoal chimney holds almost exactly 5lbs of Kingsford briquettes.
Charcoal: Preferred types/ brands – It took a great deal of research and testing to come up with the charcoal-to-cook-time ratios listed on the box, and in our worksheets, and they should be adhered to exactly. For best results, use Kingsford brand charcoal, not lump, or an off brand (is it really worth risking that $200 pig, to save $10 on charcoal?) and add the exact proportions listed on the box.
Cleaning:
Grill grates - For the grill grates, you would want to flip them over and set them directly onto the remaining coal after cooking. That any gunk left on the grill will harden and be easier to scrub off. With the internal meat racks, just spray Pam or a Pam-like product before use and cleaning will be easy.
Smoking/Cooking Chamber – Line with heavy foil to ease cleaning. Scrub the interior of the box with hot soapy water after every use, then spray with a 50/50 bleach water solution and allow to air dry before replacing the lid. If you have a semi-pro, plug the drain hole and pour several gallons of VERY hot water into the chamber, scrub and drain. Another gallon of hot water to clean out the drain pipe afterward is a good idea, as well.
Cold Smoking - Cold smoking is done at low temperatures (typically between 70 and 100 degrees Fahrenheit).
Cold smoking is great for flavoring meat that will later be cooked, and is increasingly popular for flavoring cheeses. Nova Lox and Gravlax are two examples of meats that are cured prior to smoking, and then slowly cold-smoked at 70 degrees for 12-16 hours.
Dry-cured sausages, such as pepperoni and Spanish chorizo, are cold-smoked before being hung to dry for days, weeks, or months.
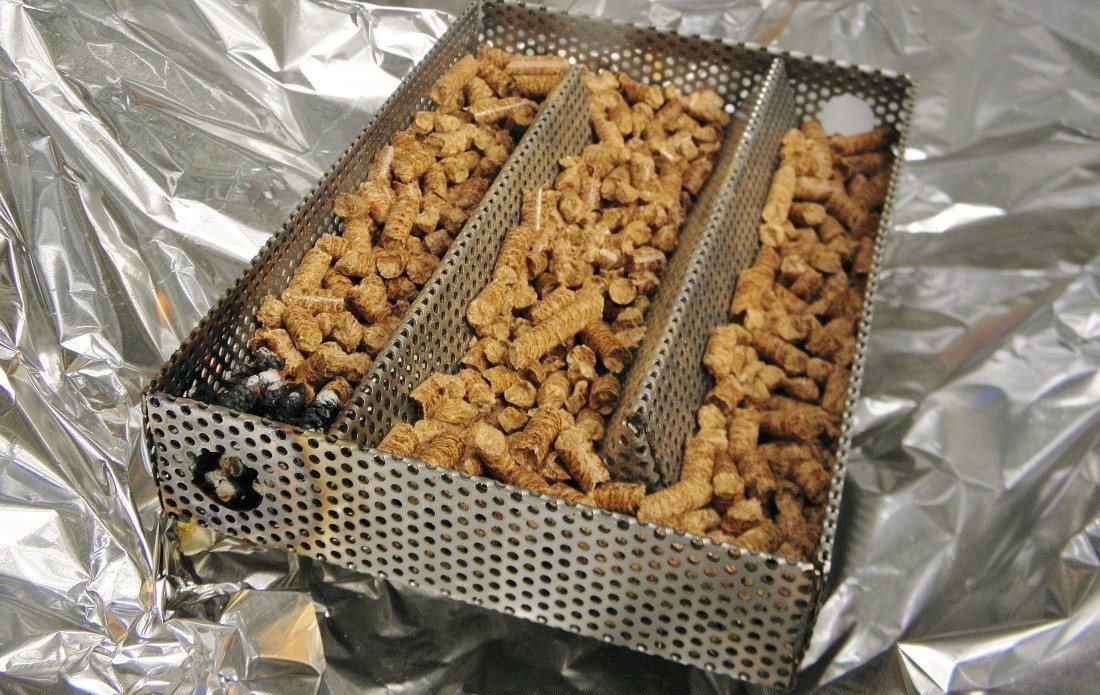
 For cold-smoking in your caja china, use the oversize rack, propped up with a few bricks, and an A-Maze-N Smoker, removing the end rails for ventilation. For cold-smoking, you do not build a fire on top of the box.
Cold Weather Cooking - Make sure your La Caja China is in a draft free area. Cold wind, especially under the box, can really drop the internal temp. It might not be a bad idea, with those low temps, to use a digital probe thermometer to track the internal temp of the box while roasting your whole pig.(See our step by step video on roasting a pig).
Tip: Cooking this much longer, we would recommend that you tent the pig in foil for the first 3-4 hours to keep the cavity from getting to dark. For pulled pork we usually take the pig up to about 195, as the temp will continue to rise for some time, out of the box.
Plan on flipping the pig between 4.5 – 5 hours, then 30 minutes to crisp and remove to table, and lastly 45 minutes to rest before carving, for about 6:15 total.
Cooking: Smaller cuts of meat in a full-size box - build your coals up at one end of the box, and then build some kind of barrier INSIDE the box....maybe fire-brick, or foil wrapped pans (to reflect the heat).
NEXT, heat a big pot of water to a simmer, foil the top (to minimize steam escaping), and place it in the OTHER side of the box. This should minimize heat loss.
Basically, you start with 5lbs of charcoal and add 4lbs every hour until you reach your desire temp. Add 25% to each of those numbers to make up for our fix, and do everything you can to minimize heat loss.
Cooking Times, Approximate:
Whole Pig, 80 lbs. 4 hours to slice, 6.5 hours to pull
6 Whole Turkeys, 12-14lbs 3.5 hours
Whole Goat, 50lbs 3 hours
Whole Chickens, 16-18 2 hours
Lamb, 20lb 1.5-2hrs
Lamb, 50 lbs. 3 hours
6 Racks of Ribs 5 hours
Pork Shoulders (8-10) 6 hours
Salmon, 6lb fillets 20 minutes
Pizza, 2 Lg. 20-25 minutes

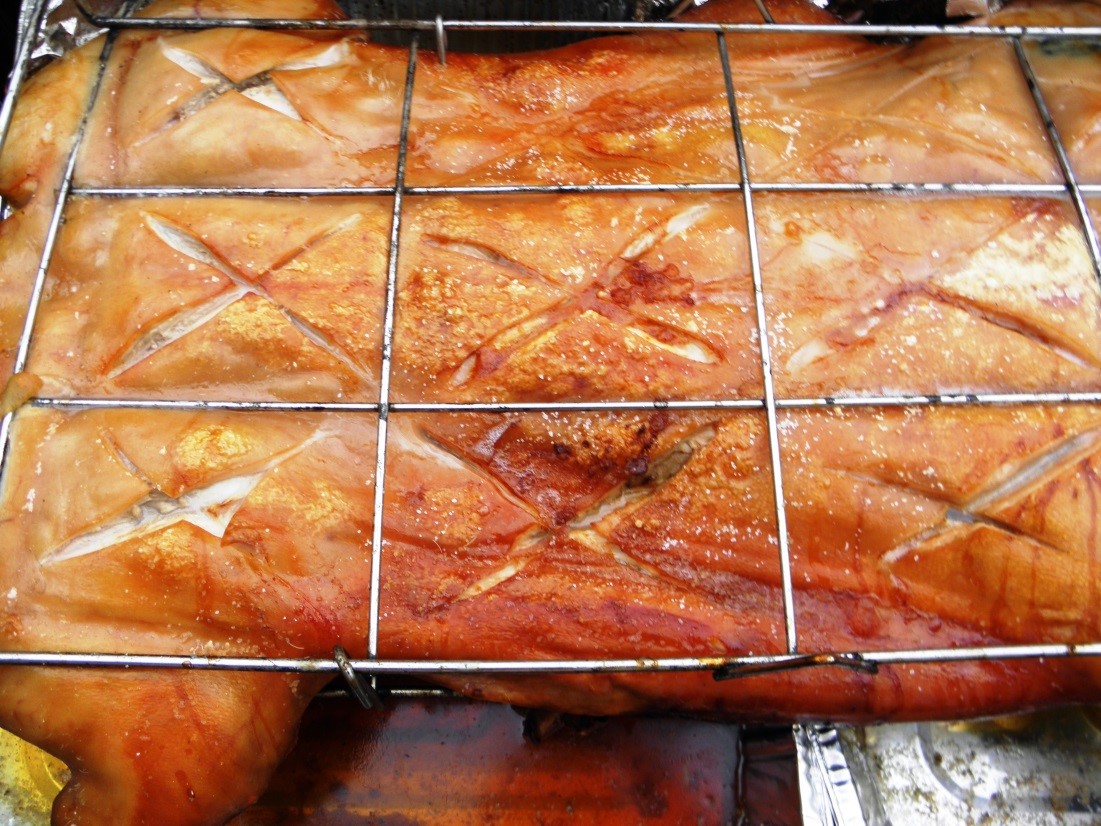
Crisping the skin on a whole roast pig - First of all, just following the directions on the box itself is a great start, and will get you a yummy crisp skin. For that "potato-chip" crisp that makes Cuban and Fillipino lechón so amazing, however, we suggest a couple of things above and beyond the typical recipe…
The first two steps can be used with any "whole hog" cooking method, while the third is specific to Caja China style roasting boxes. The fact is, the dryer skin is when you start cooking, the crisper is will turn out.
That lovely crunchy skin on Peking Duck comes from air-drying the duck's skin prior to cooking. Similarly, there are a couple of things you can to to get super-crunch results with your pig.
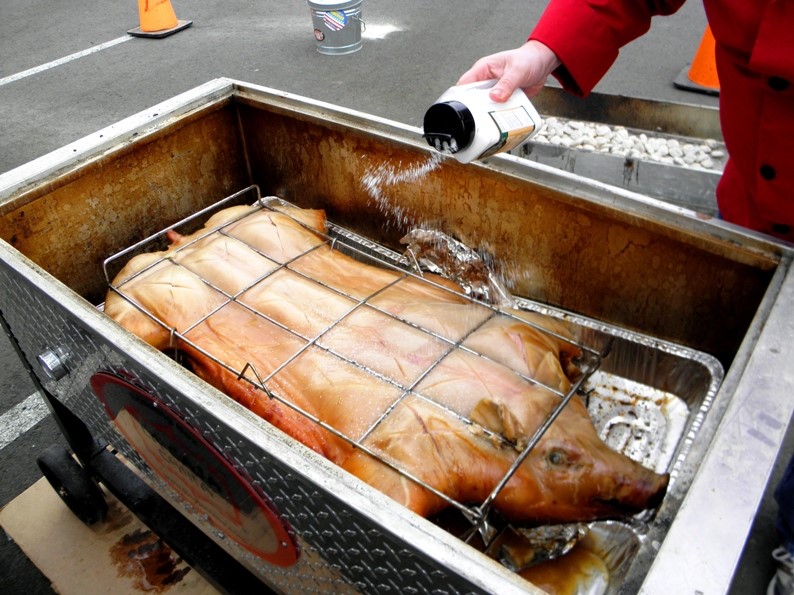
#1. After marinating (or, if not marinating, then the night before roasting) pat the entire pig down with paper towels to remove excess moisture. Then, rub the skin generously with a salt-heavy rub, or straight sea salt.
We recommend a fine grind, as it will adhere better.

Personally, we recommend injecting the pig (or whatever you’re roasting), instead of marinating it externally, as soaking in liquid for hours is somewhat counter-productive to drying the skin. Injecting is also a lot less messy.
#2. As you bring the pig to room temp (a must), set up an oscillating fan - or, preferably, two - pointed at the uncovered pig, to help to help "air-dry" the skin as much as possible. If your fan(s) can't cover the whole carcass at one time, move them around every 30 minutes or so.
#3. When you flip your pig to brown the skin for the last 30 minutes or so, pat the skin down again with paper towels, give it another sprinkle of rub, and (most important) set the coal tray back on at a slight angle so that there are gaps on both sides of the box.
This will allow any excess moisture cooking out of the skin to escape the box, instead of being contained and "steaming" the skin.
Watch your pig carefully at this point, as a dry skin will brown (and burn) much faster than one with a high moisture content.
 Loading... Please wait...
